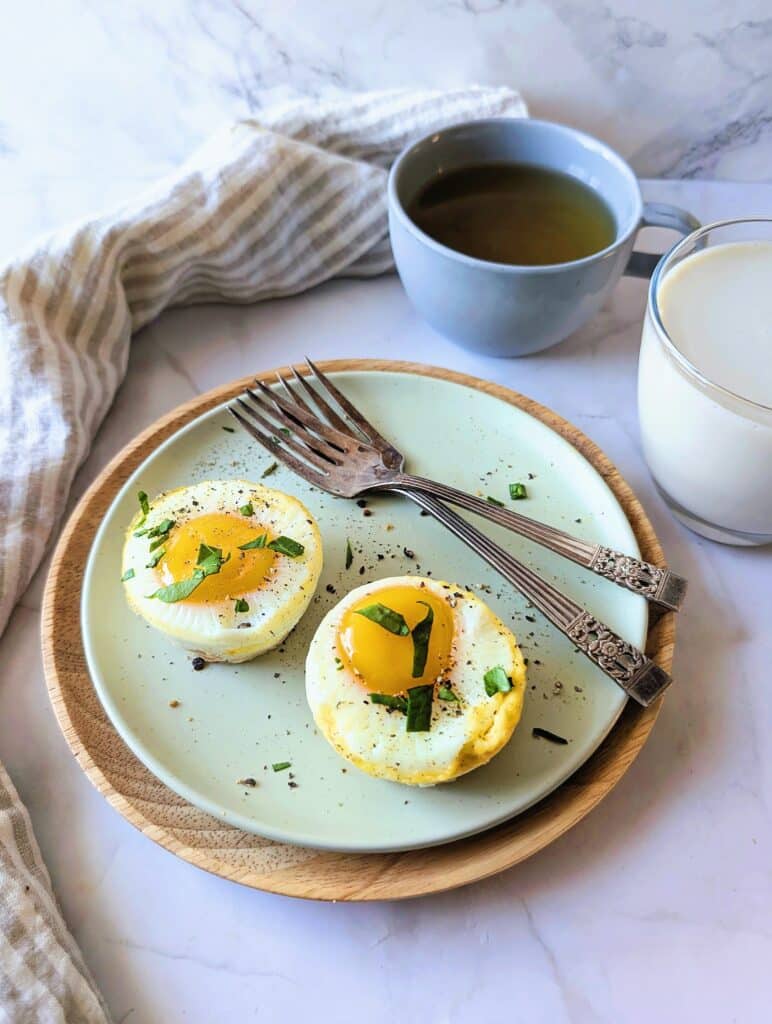
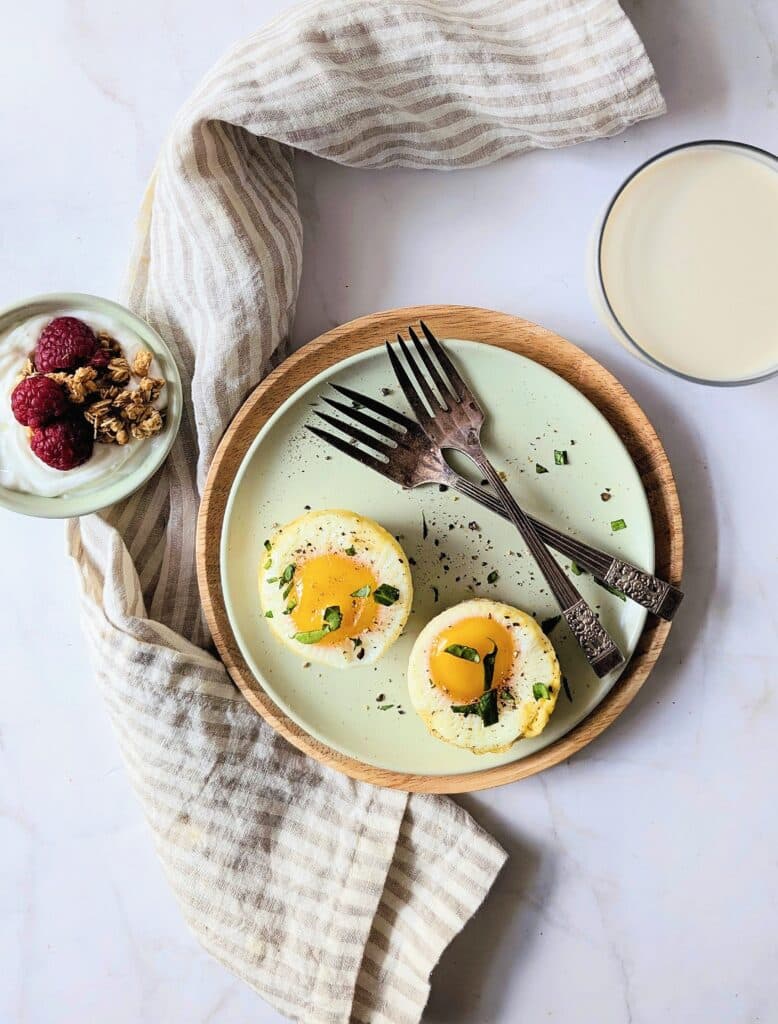
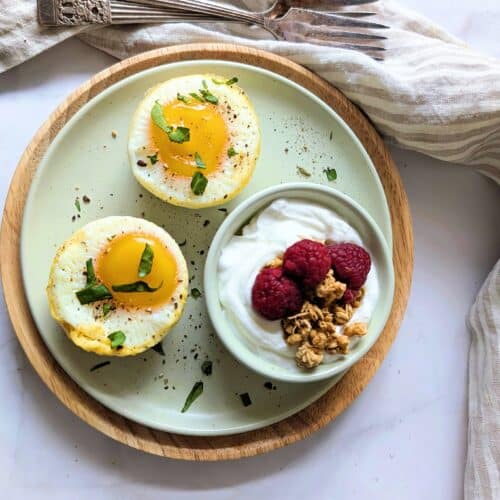
Baked Egg Muffin Cups with a Veggie Crust

We recently got back from a bucket-list trip to Disney with my three kiddos, and let me tell you…future me was SO glad I froze a batch of these baked egg muffin cups! It made breakfast and lunch packing feel just a little bit easier as we dove back into reality.
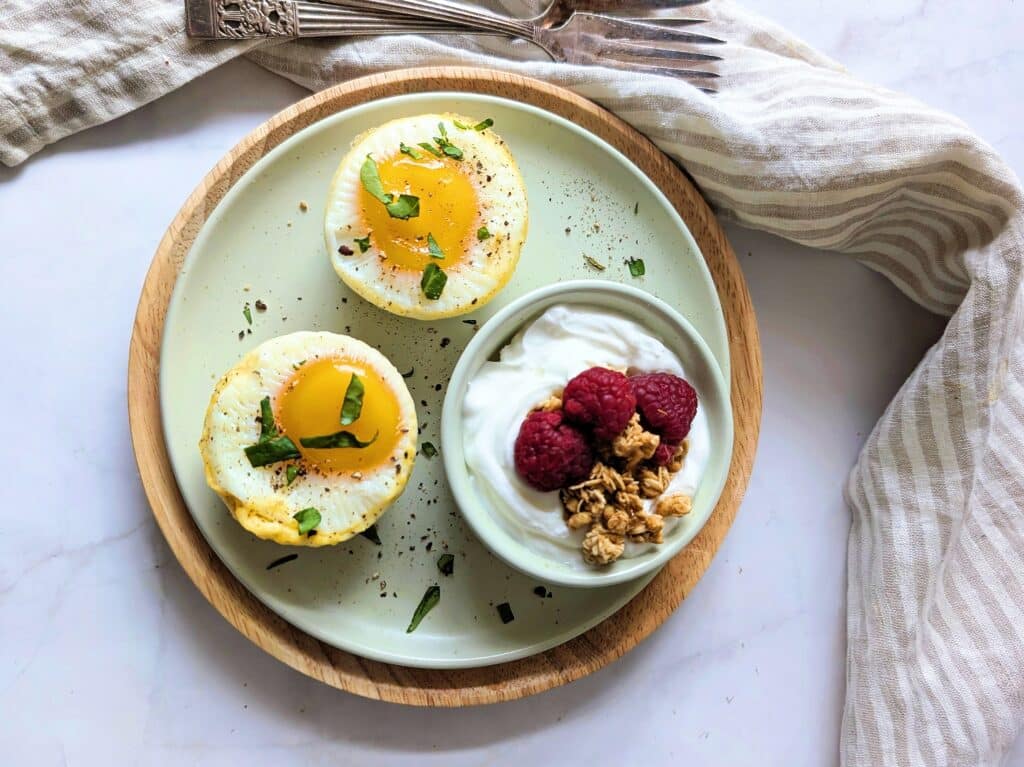
What makes these baked egg cups a little extra fun, though, is the veggie crust. So you start with a quick mixture of grated sweet potato and cheese pressed into the bottom. It adds flavour, texture, and a little staying power too. You can keep them simple or add finely chopped veggies depending on what your family likes.
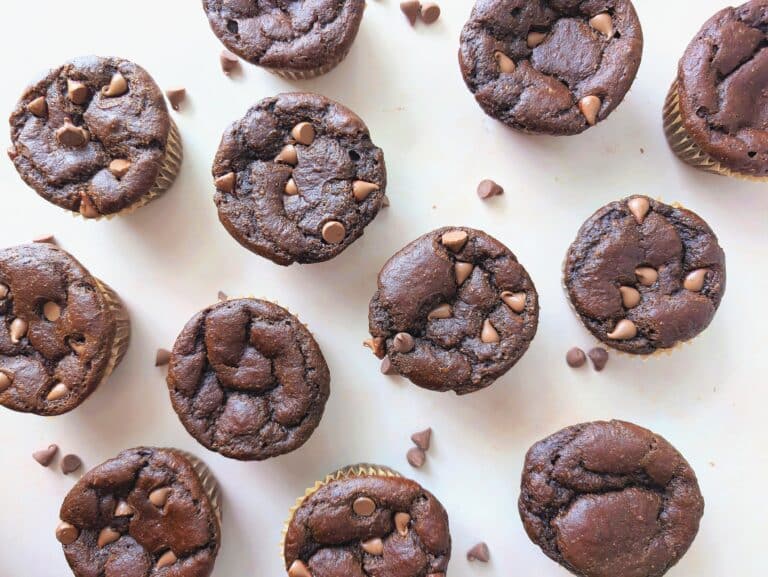
If you love easy egg-based breakfasts as much as I do, you might also want to try these easy egg bites, my kid-friendly lunchbox frittata puffs with cheese and broccoli, or even this surprisingly delicious lunchbox chocolate pudding using hard-boiled eggs for another creative way to use eggs.
Why you’ll love these baked egg muffin cups
There’s a lot to love about this recipe, especially if your mornings are busy and unpredictable. As a dietitian mom, I’m always looking for breakfast ideas that are simple, satisfying, and realistic for real family life. These little egg cups check all the boxes.
They’re protein-packed, easy to prep, and perfect for mornings when everyone is moving at a different speed. I’ve absolutely handed a couple of these to my kids on the way out the door before, and no shame in that game.
They’re also one of those recipes that is totally customizable, which I always appreciate. You can use what you have, tweak them based on your kids’ preferences, and make them work for your season of life.

What makes these egg cups different
There are lots of egg muffin recipes out there, but this one has a special little dietitian twist: a simple veggie crust made with sweet potato and cheese.
It’s not fussy, but it does make these feel more substantial than your average muffin tin eggs. The grated sweet potato softens as it bakes, the cheese adds savoury flavour, and together they create a tender little base for the eggs. It’s such an easy way to add a bit more texture and colour without making the recipe more complicated!
And if your kids are in a phase where they’re more comfortable with familiar foods, this can be a nice gentle way to offer veggies in a format that still feels approachable.
Ingredients you’ll need
You only need a handful of simple ingredients to make these baked egg cups:
- sweet potato
- grated cheddar cheese
- garlic powder
- onion powder
- finely chopped vegetables like spinach, mushrooms, or bell pepper
- eggs
- salt and pepper
- optional toppings like parmesan, chives, or hot sauce
That’s literally it!
Ingredient notes and easy swaps
One of the best things about these baked egg cups is how adaptable they are. If you don’t have sweet potato, you could try grated regular potato instead. Just keep in mind that sweet potato adds a little natural sweetness that works really nicely here.
You can also switch up the cheese depending on what you have on hand. Cheddar adds lots of flavour, but mozzarella or a marble cheese blend would work too.
For the vegetables, finely chopped spinach, mushrooms, or bell pepper are great choices. The key is chopping them small enough that they cook quickly and blend nicely into the egg cups. If you’ve got a child who’s wary of mixed textures, you can absolutely leave the extra veggies out and keep these super simple.
How to make baked egg cups
These come together really quickly, which is part of their charm.
Start by greasing a standard muffin pan well and preheating your oven. In a small bowl, mix together the grated sweet potato, grated cheddar, garlic powder, and onion powder. Press a spoonful of that mixture firmly into the bottom of each muffin cup to create your little crust.
From there, add a small amount of finely chopped veggies to each cup if you’re using them. Then crack an egg into each muffin cup right on top.
Bake until the whites are set and the yolks are cooked to your preferred doneness. Depending on your pan and how you like your eggs, that can take anywhere from 15 to 22 minutes.
Let them cool for a few minutes, then carefully run a knife around the edges and remove them from the pan. This part matters more than you might think because if you leave them sitting in the pan too long, the bottoms can get a little mushy. And truly, nobody wants a mushy bottom.
Finish with salt and pepper and any toppings you like.
Sarah’s tips for success
A few little things can make these baked egg cups even easier:
- First, grease the pan really well. Even with non-stick pans, eggs can be clingy. A silicone muffin pan can work beautifully here too, and I do love how easy it is for cleanup and release.
- Second, know that metal and silicone pans bake a little differently. Metal pans tend to cook the egg cups faster, while silicone pans are wonderfully non-stick but may need a bit more time in the oven.
- Third, chop your veggies very finely. This helps them cook quickly and keeps the texture more consistent, especially for younger kids or more selective eaters.
- And lastly, take the egg cups out of the pan after they’ve cooled just slightly. Letting them sit too long traps moisture and softens the bottoms.
Ways to serve these baked egg cups
This is the kind of recipe that can play a lot of different roles in your week. We like to serve them with toast and fruit for an easy breakfast. Pair them with cut veggies, crackers, and fruit for a simple lunch.
Add avocado and salsa for a more brunchy feel. Or pack them along as a snack before sports and activities.
They’re also nice because they don’t require a fork-and-knife situation. Sometimes that alone is a major win.
Storage and reheating tips
If you have leftovers, store them in an airtight container in the fridge for up to 3 days. You can reheat them gently in the microwave or warm them in the oven. They’re definitely best fresh, but they still hold up nicely for a prep-ahead breakfast or snack.
And yes, you can freeze these baked egg cups, which makes them extra handy for busy weeks. I’d recommend baking them until the yolks are fully set if you plan to freeze them, since softer yolks don’t hold up as well. Let them cool completely, then store them in a freezer-safe container or bag. When you’re ready to eat, just reheat until warmed through.
Tips for selective eaters
If your child is more hesitant with mixed foods, these baked egg cups can still work. You can start with just the sweet potato, cheese, and egg and leave out the extra veggies. That keeps the flavour mild and the texture simpler. From there, you can experiment with adding tiny amounts of spinach or pepper if that feels doable for your child.
I’m always a fan of low-pressure opportunities to explore food. Just offering foods in different ways and letting kids build familiarity over time. Recipes like this can be a nice bridge, especially when they’re easy to hold and easy to recognize.
Baked Egg Muffin Cups with a Veggie Crust
Ingredients
- 1 small sweet potato peeled and grated, 1/2 cup/125 mL
- 1/4 cup/60 mL grated medium cheddar
- 1 teaspoon/5 mL garlic powder pinch
- 1/2 teaspoon/2.5 mL onion powder
- 1/4 scant cup/55 mL total of very finely chopped baby spinach mushrooms or bell pepper
- 8 eggs
- Salt and pepper to taste
- Grated parmesan hot sauce, chives, optional, for topping
Instructions
- Grease a standard 12-cup muffin pan or use a silicone muffin pan. Preheat the oven to 375°F/190°C
- Peel and grate the sweet potato and cheese on the larger hole of a box grater, adding them to a small mixing bowl as you go. Stir in the garlic and onion powder.
- Press a tablespoonful/15 mL of the mixture firmly into the bottom of each muffin cup. Top with a teaspoon of the finely chopped veggies, if using. Crack an egg on top of the mixture in each muffin cup.
- Bake for 15 to 22 minutes (the egg cups cook faster in metal pans than in silicone but I love the non-stick of the silicone!) until the whites are set and the yolks are the desired softness. Allow them to cool in the pan for a few minutes, then run a knife around the edges and carefully remove them from the pan (leaving them in to cool completely will result in mushy bottoms, and no one likes a mushy bottom!).
- Season with salt and pepper, more grated cheddar or parmesan, hot sauce or chives, if desired.

Sarah Remmer, RD, is a registered dietitian and mom of three, specializing in family and pediatric nutrition. She’s the founder of Centred Nutrition Collective and has nearly 20 years of experience helping families feel confident about feeding their kids.
This post may contain affiliate links. View our policy.